Comment at Youtube | mindenoutersclub@gmail.com | Make Your Own Curling Stone Forum NEW
make your own rink | make your own hockey shooter tutor with beacon light | make your own soccer goal
This page provides do-it-yourself instructions for making your own curling stones for affordable backyard rink, frozen lake or frozen pond play. A materials list and step-by-step instructions are included along with suggestions for curling without painted rings or a "button".
Why make your own curling stones?
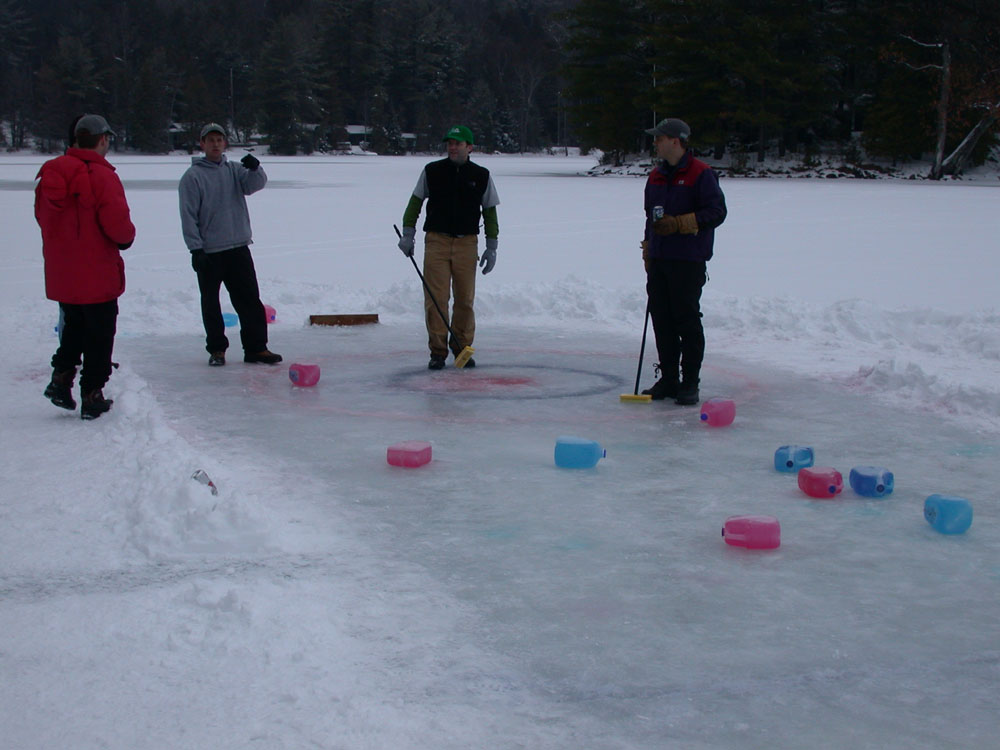
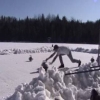
The short answer is, to play outside, in the fresh air, and because "real" stones cost thousands. The long answer: We, The Minden Outers Club, who meet for a weekend every winter at a cottage near Minden ON (Canada), wondered if there might be more to winter than staying indoors playing Euchre. One year (2003) a few in the group decided curling might be a pleasant change from playing hockey (the ONLY thing that consistently took us outdoors) and they proceeded to: shovel off a rink, mark it with food colouring, and make "stones" out of frozen jugs of water (Figure 1). Sure it was fun, champions were proclaimed, but the sustainability of the "stones" (jugs) when the jugs started getting thrown up in the air so we could watch them explode on impact (yes, grown men : |). Some of us decided that maybe we could have more long term fun if we didn't destroy the "stones" at the end of the game. Much talk ensued within the group about the best approach and the following were the most serious considerations:
- Use frozen jugs like we did the first time around.
- Buy a set of used stones from a curling club.
- Make stones using concrete or perhaps dumbell weight plates.
Our decision and prototype testing process:
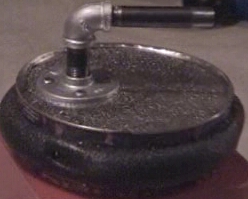
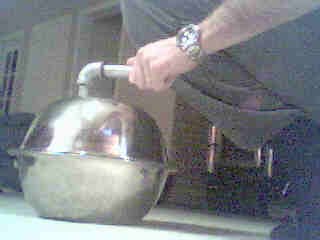
After much discussion of the options above, throughout 2003 and 2004, and even a poll within our group we decided on frozen jugs. However, as is typical within our group, two of us ignored the others and made concrete-based prototypes anyway (Figures 2 & 3). At our 2004 meeting no jugs of water were frozen ("Hey, I thought YOU were going to freeze them!?") and we did not play hockey OR curl, we made a toboggan run instead...I digress...but we did "test" the prototypes:
|
|
|
|
Click image to see large version. |
| Figure 1 Prototype 1 |
Figure 2 Prototype 2 |
Figure 3 Prototype 3 |
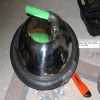
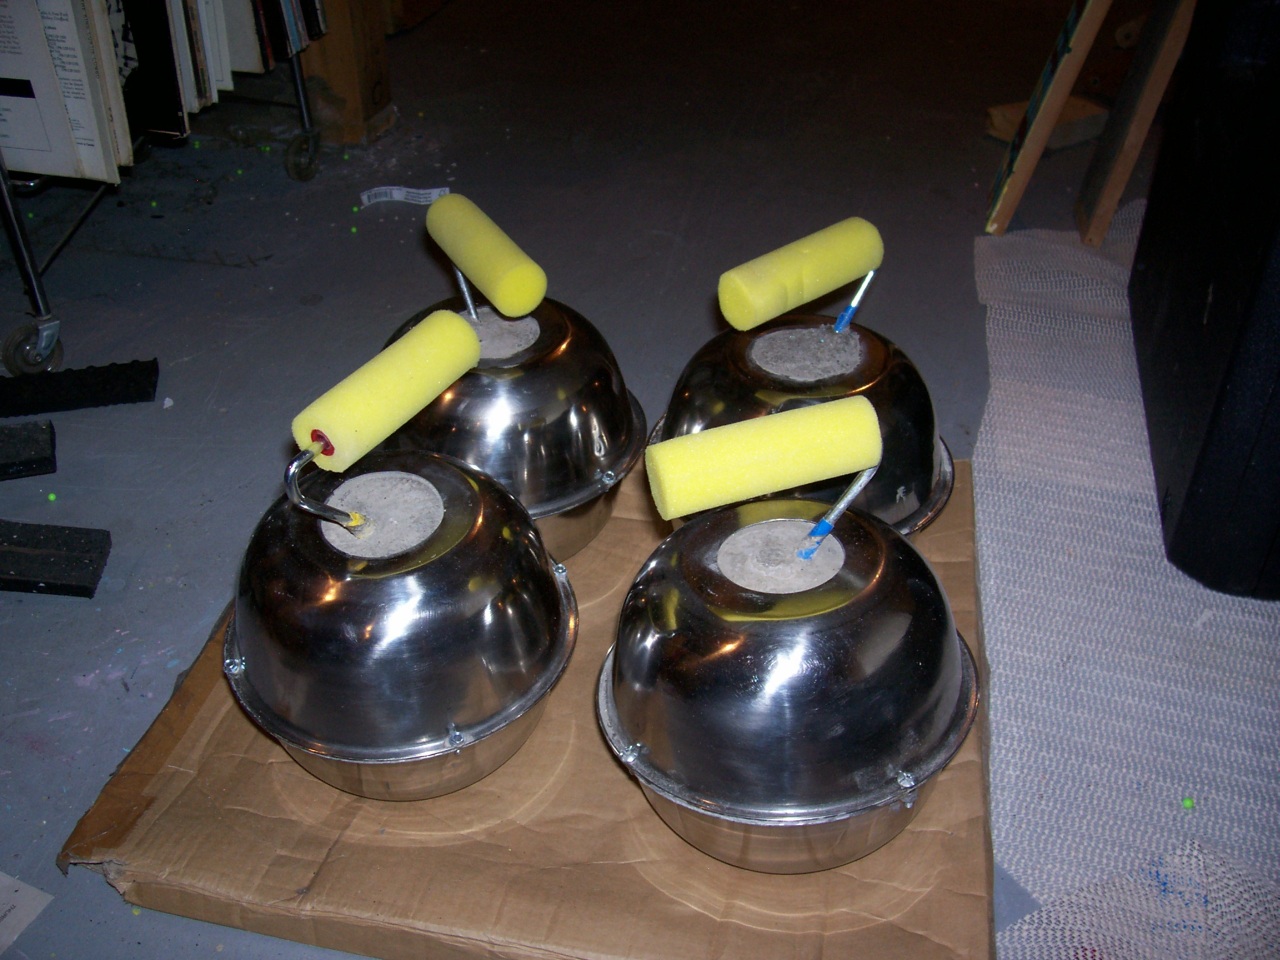
Figure 4 Completed Stone |
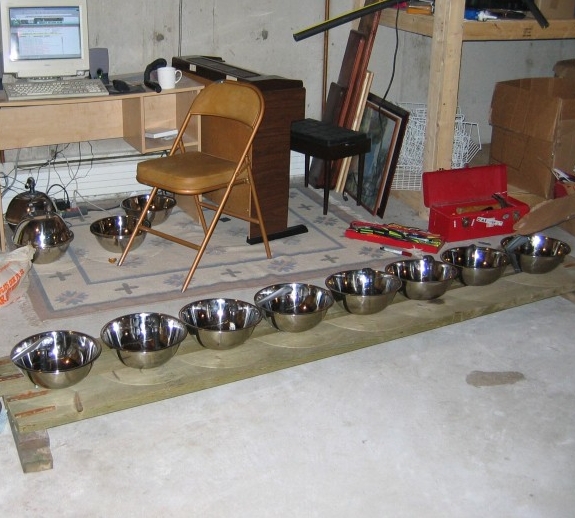
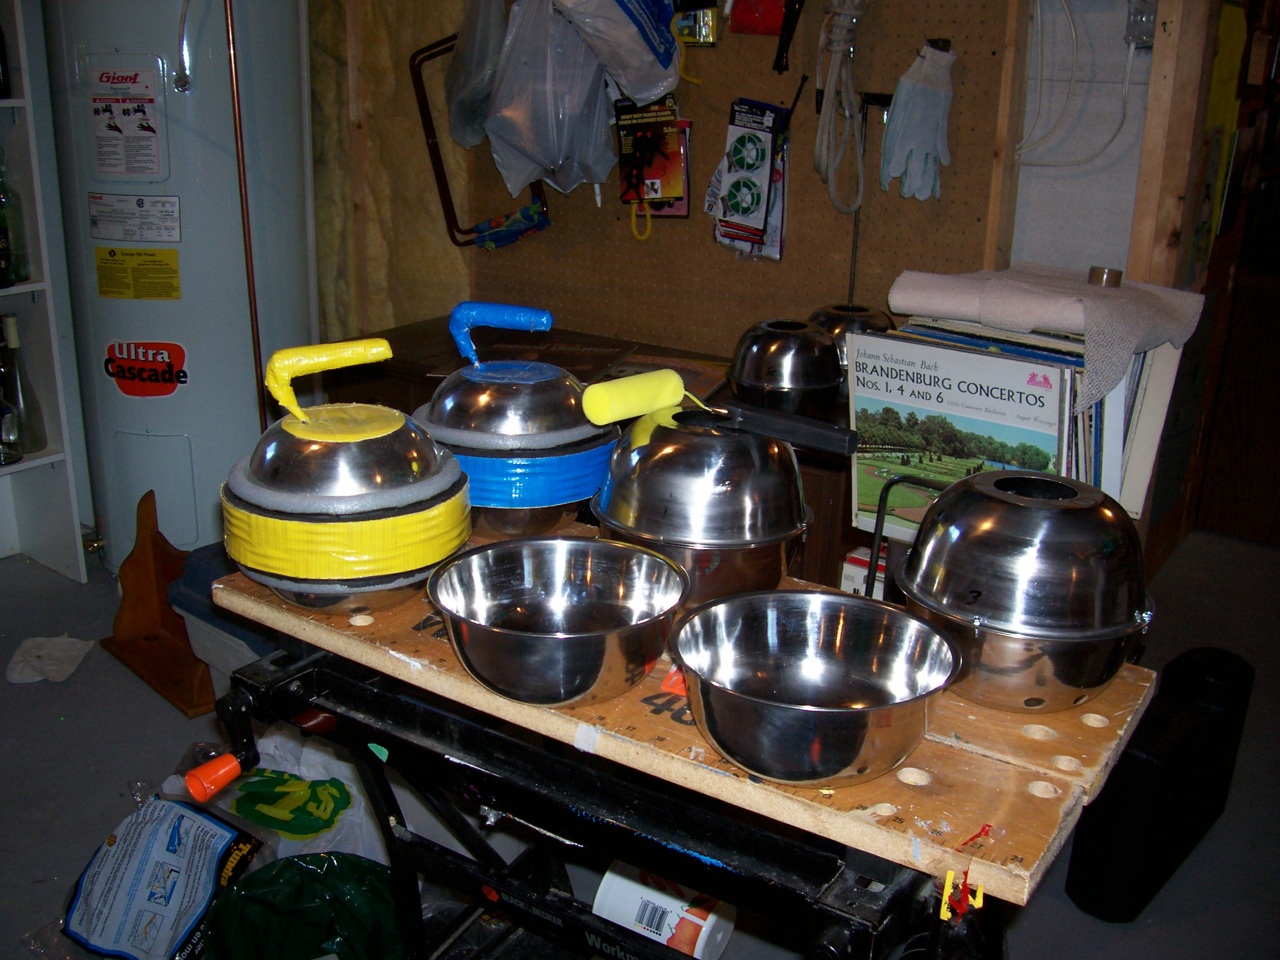
Prototype 1 (Figure 1) is of course the frozen waterjug - we have already tested these - fun and easy to make but fragile (they split) and play nothing like real curling stones. Prototype 2 (Figure 2) was made from a cookie tin filled with concrete - not heavy enough and too many edges to catch on defects in the ice - while prototype 3 (Figure 3) was made from mixing bowls. Prototype 3 was the clear choice. Though a bit wobbly in the hands of the uninitiated, it had the weight, smooth low-friction bottom and feel of a real curling stone, it even curled (a bit)!
Summary of Materials for Prototype 3 (Figure 3)/Completed Stone (Figure 4)
| $/stone | approx. *$13 |
| $ full set 16 | approx. $210 |
| build time | 3 days (to allow for concrete dry time) |
| materials list (one stone) | - 5 litre stainless steel
mixing bowls - 2 per stone - get the ones with a large flat bottom
- bag quick-drying cement X 1 (I used Quickcrete at about $3/bag) - 90oelbow X 1/2 inch galvanized pipe X 2 - 4 inch X 1/2 inch galvanized pipe X 1 - 6 or 8 inch X 1/2 inch galvanized pipe X 1 - #8 X 1 inch brass or galvanized machine bolts with nuts X 4 - rubber bumper - e.g., rubber hose - about 2' per stone - construction adhesive or hot glue stick - coloured hockey tape (stick tape) - handyman's secret weapon - loctite - 2X6 X 10feet or something similar X2 |
| tools | - electric drill
- jigsaw (optional) - caulking gun - large bucket or wheelbarrow - trowel or your spouse's good hand spade (shhh) - utility knife - screwdriver and plyers - safety goggles |
How we made them - the Minden Outers Club method (completed stone)
- Cut a hole in the bottom of the bowl big enough to snugly slide the 6 inch length of 1/2 pipe through - i.e. a 1/2" or 5/8" hole. Locate the hole near the edge of the flat bottom not in the center (Figure 4 or Figure 5). I scored around the end of a piece of pipe and then drilled small holes all along the circle and then connected the dots with a jigsaw. I think this is the kind of thing hole saws are for?
- Smear loctite on the end of the 6 inch pipe that will poke "outside" the bowl.
- Screw on the "outside" elbow that will receive the handle - i.e., the end on which you just smeared loctite.
- Slide the 6 inch pipe through and screw the "inside" elbow on - the "inside" elbow does not require loctite and it can face any direction. The "inside" elbow should stick up higher than the rim of the bowl, this is your "rebar" for clamshelling the two bowls together with concrete (Figure 6).
- Screw the 4 inch pipe into the other end of the "outside" elbow to form the handle - no loctite necessary, but cannot hurt.
-

Click image to see large version. Figure 5
Anti-rotate screw locationFigure 6
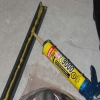
Ready for concreteFigure 7
Fastening bumper
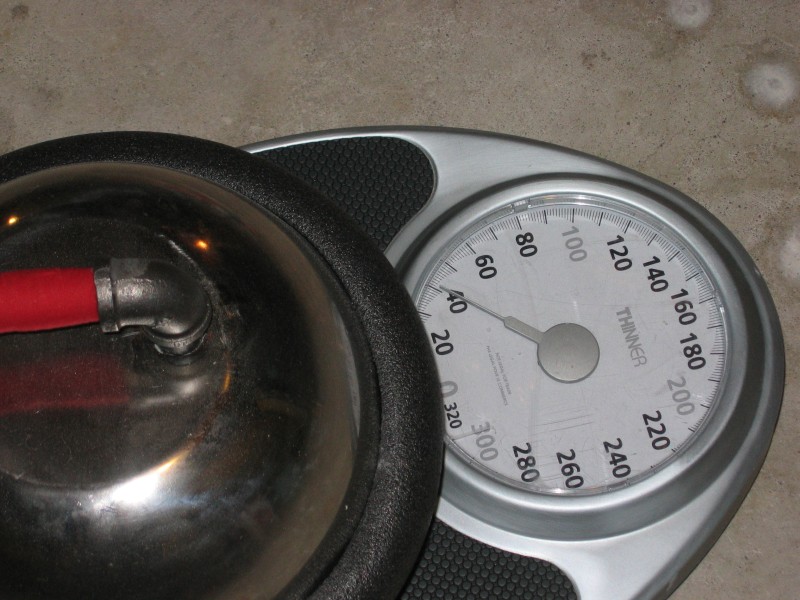
(don't use this foam)Figure 8
42 lbs!
IMPORTANT prevent handle from pivoting - make sure the elbow that forms your handle is securely fastened to the vertical 6 inch pipe, otherwise your handle will pivot and misalign with use. Rather than use loctite as in step 3 above, I actually drilled a hole into the elbow through the top of the vertical 6 inch pipe and put in a screw to stop the handle from turning (Figure 5). If you use the screw method, do it as your last step. - Align your handle and tape the inside of the pipe to the bowl using the "handyman's secret weapon" (this also prevents leakage of concrete). You may also need some of the "handyman's secret weapon" to keep the handle vertical for the concrete pouring stage.
- Turn mould with handle upside down on 2X6s - the outside handles will dangle below the 2X6, held in place by tape (Figure 6).
- Pour concrete into this half (the upper half) of the stone. Use a slightly liquid mix to prevent air pockets. Fill right to the top of the rim. You should have the "inside" elbow poking through the concrete once filled to the rim. This inside elbow is what will help cement the two halves together in the next step (think of this inside elbow as your "rebar" to concrete the halves together). Peek under the 2X6s to ensure the handles are still vertical and centered over the bowl. Let dry overnight.
- Pour concrete into bottom half and set top half on top while bottom half concrete is wet - again a liquidy mix for the bottom half is highly recommended. Twist to ensure the "inside" elbow from your now dry top half is well buried in the now wet bottom half concrete. Let dry overnight.
- Drill 4 holes where the seams meet (3, 6, 9 and 12 o'clock), to receive the #8 bolts. Insert bolts and fasten nuts (I did not bother with washer, they didn't fit). These bolts are the failsafe to ensure the stone stays together.
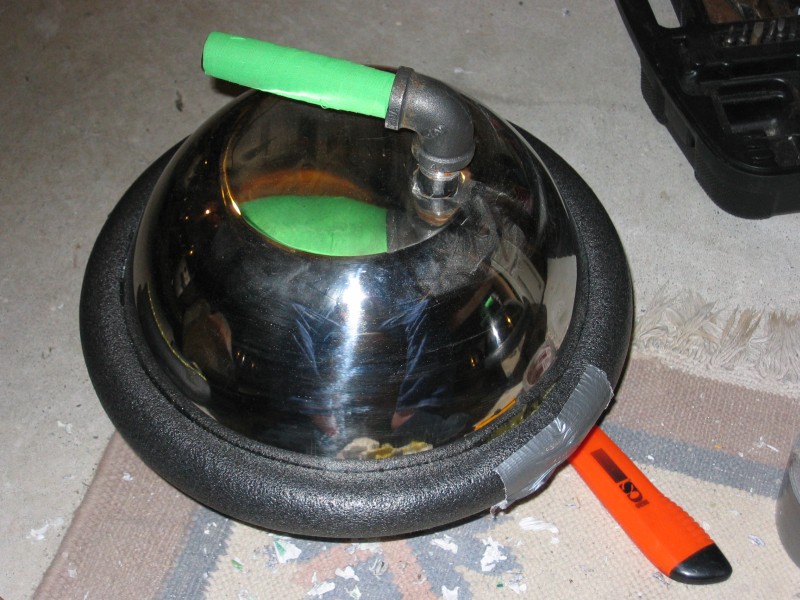
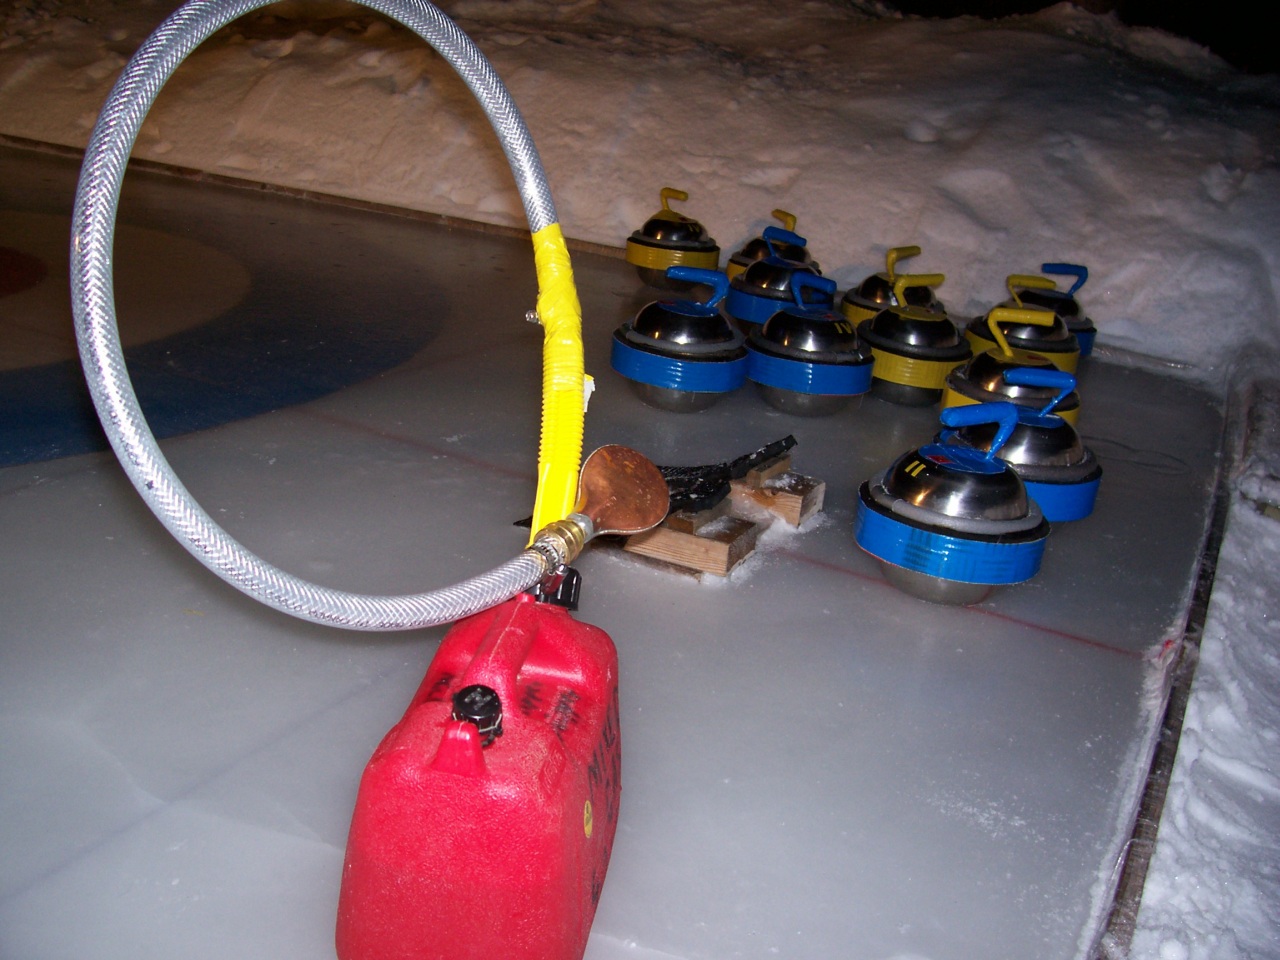
- Cut bumper (now rubber hose) to fit around the equator of the stone. We used foam pipe insulation, which ripped, so we now have rubber hose. Others have used rubber flooring (see viewer submissions below)!
- Apply adhesive to foam (Figure 7) put a liberal amount of adhesive on the inside of the bumper then slip it over the seam where the bowls meet, fastening the ends together with a piece of the "handyman's secret weapon" temporarily (Figure 4 or Figure 5).
- Wrap foam with tape (not necessary with rubber hose If you use foam, I think the handyman's secret weapon all around would help it last longer. This will detract somewhat from the look perhaps, but I failed to do this and paid the price. After 2 days of play with these stones small and large bits of foam started to come off. That is why we replaced the bumpers with the red rubber hose pictured in Figure 9b. Unfortunately we have not had good enough ice for our annual meeting for the last two years to try out the new bumpers. I know they will be more durable.
- Prevent handle pivot - with the screw method as described above in step 6 (if you did not use loctite)(Figure 5).
- Get outside and curl - this is all about getting outside and getting together with family/friends!


How well do they work?
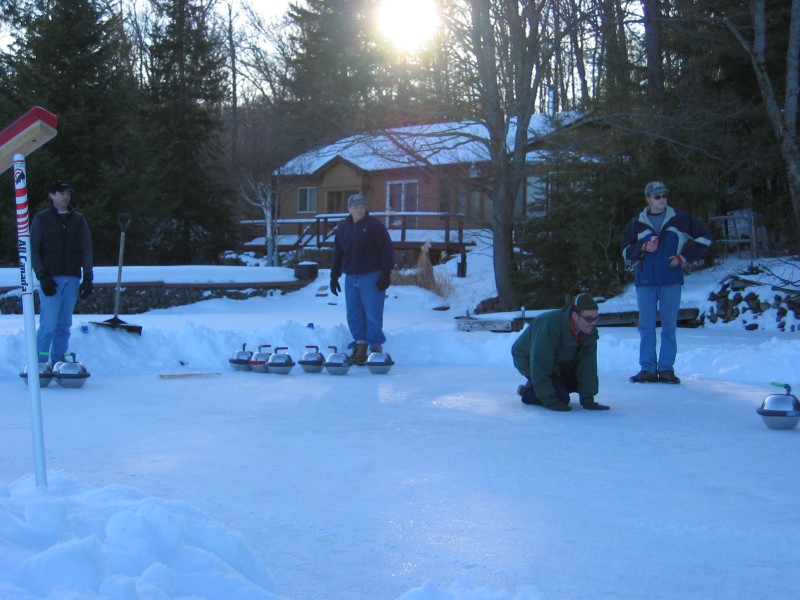
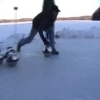
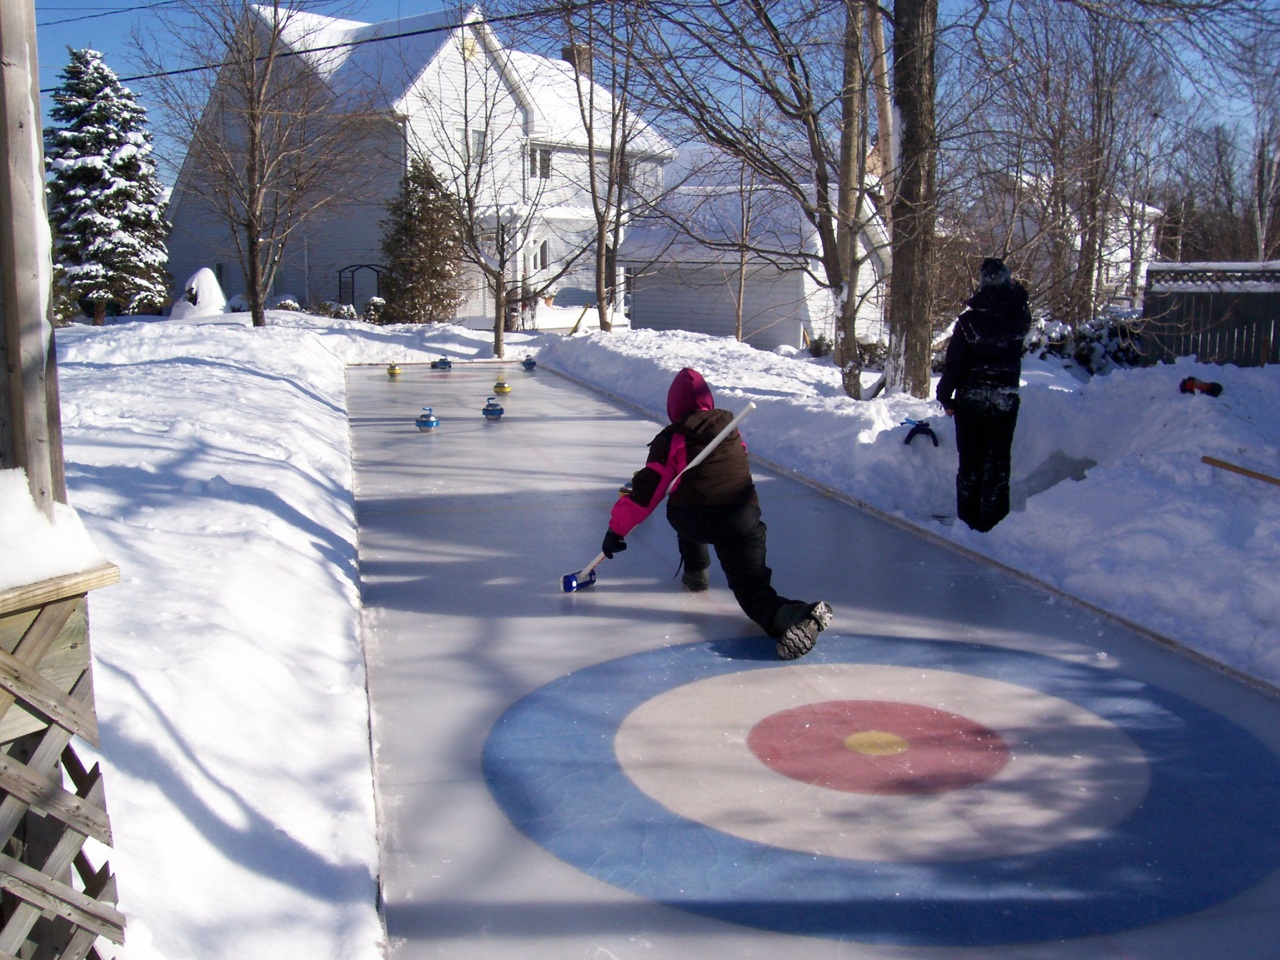
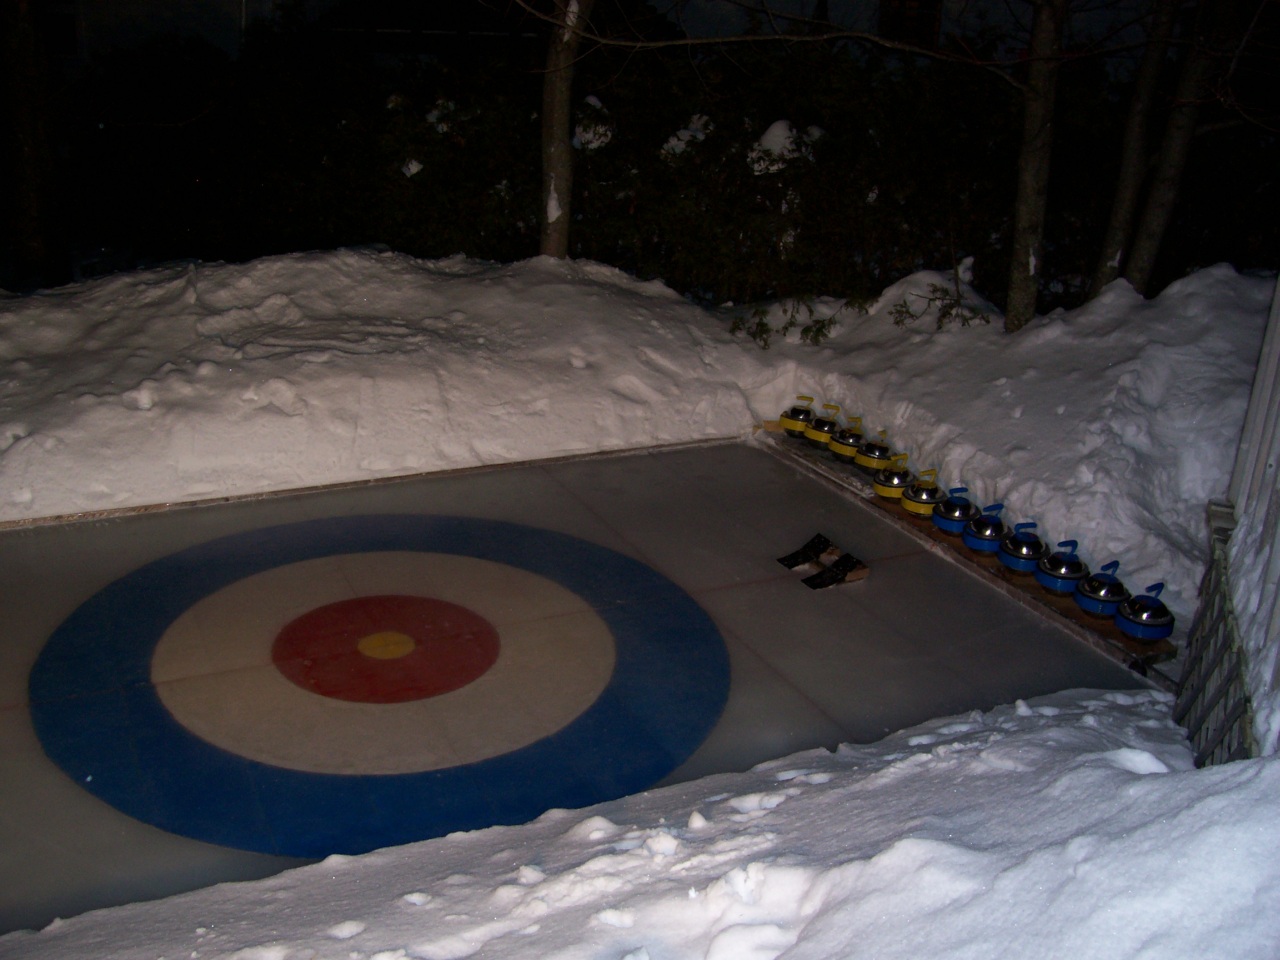
At 42 lbs, they are almost at the World Curling Federation maximum allowable weight of 44lbs - blind luck, plain and simple. More importantly, they work great. The weight ensures they slide well, even on an unpebbled frozen lake (Figure 10, Movies 1 and 2). We played several games and the stones all still working fine (though some repairs on the foam bumpers are needed, see step 14 above - we switched to rubber hose, see below for how they do it in New Brunswick!). We really did have a lot of fun and plan to for years to come. In the beginning, yes very rarely they did keel over a bit when the curler accidentally threw the stone instead of glided it. This problem was easily corrected with an adjustment in gliding style (don't throw them).
|
|
|
|
|
Click image to see large version OR movie. |
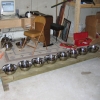
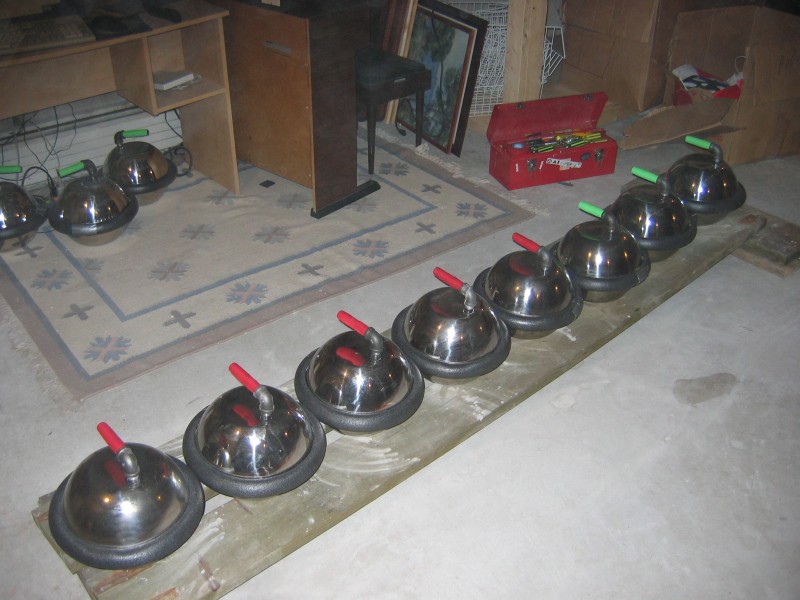
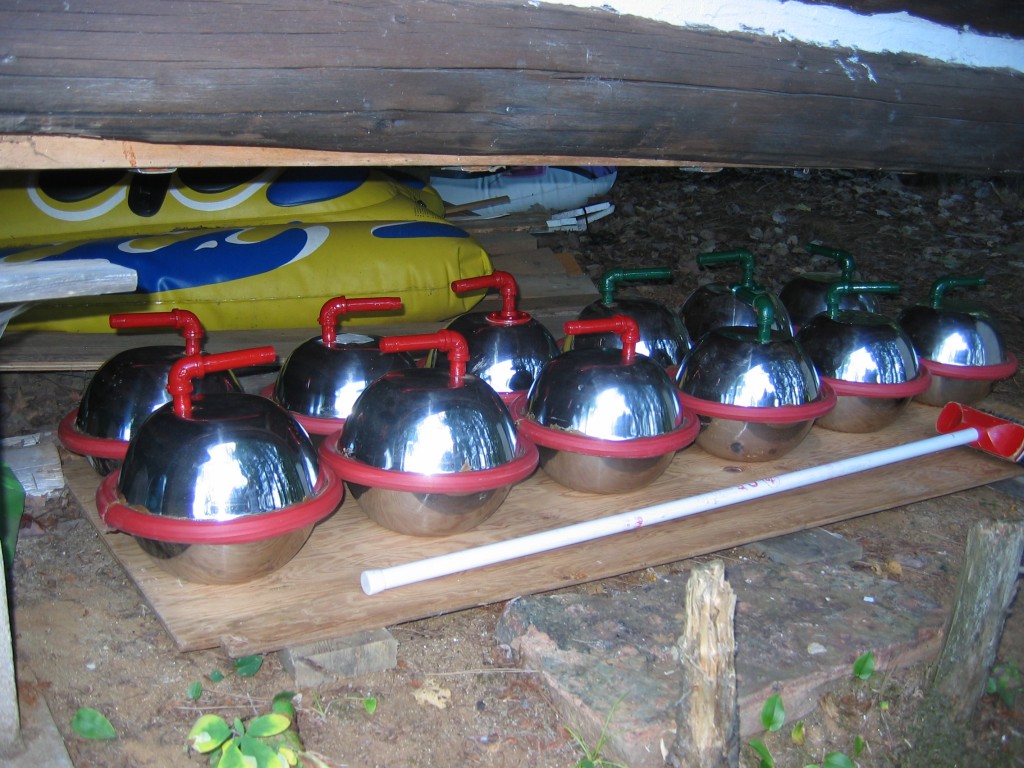
| Figure 9a 11 completed stones old bumpers |
Figure 9b 12 stones new bumpers! |
Figure
10 Game on. |
Movie 1 Feel the rumble. |
Movie 2 Toboggan-cam shot. |
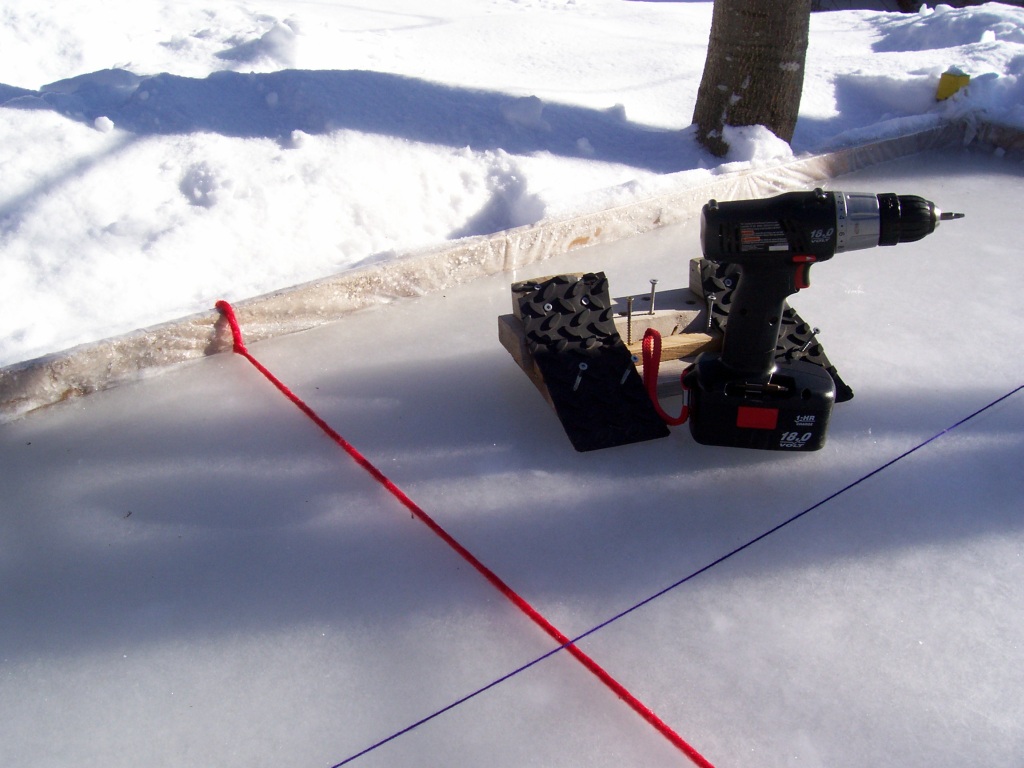
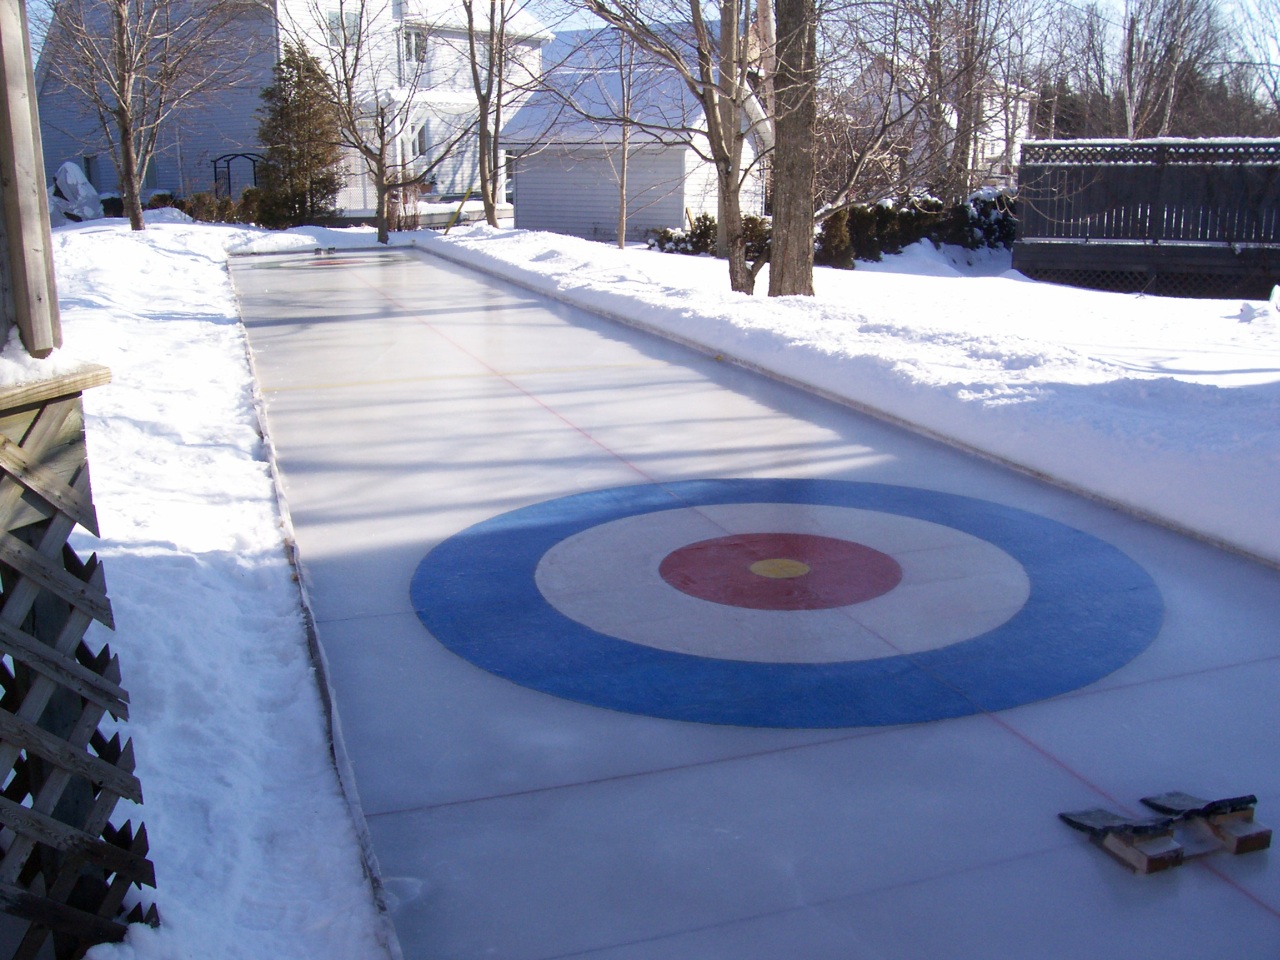
What about rink prep?
We made hacks by drilling holes through each end of a piece of 2X4 and then we simply pounded 10 inch lag bolts straight into the ice (be see MD's rink below!). The freeze thaw cycle makes them very secure, even "permanent", so you might want to fasten a rope to the hack and shore to retrieve them at melt time. We did not pebble (got deionized water?). We used food colouring for a button, but this year we did not bother with the other two rings. We also played a lawn bowling style game that required no button at all (see below).
Curling petanque/lawn bowling/bocce style.
Rather than bother with the painted on "button" in the early going this year (2005) we threw out prototype 1 (Figure 2) as our jack/pallino/kitty and used it as the movable button. As many who have played any of these three related games knows, when the "target" is not fixed, strategy is different. One guy in our group was particularly good at moving the jack/pallino/kitty back to put many of his team's stones in scoring position. This is a really fun way to play.
Homemade curling stones from people who visited this webpage (from emails, with permission)
"Thanks to you and your club. In 2006 I saw your stuff on-line, and went through some variations in 4 winters since then. I think the photos speak for themselves. It has been a lot of fun, and we're getting a fair bit of action out there this season by young and old alike! Curling is a great sport, so why not do it at home too? It takes a bit of perseverance, however the result is well worth the effort. Thanks again for the inspiration. Hope you can get your ice going this year!"
MD (New Brunswick)
|
|
|
|
|
|
 |
Click image to see large version (MD took it to the next level) |
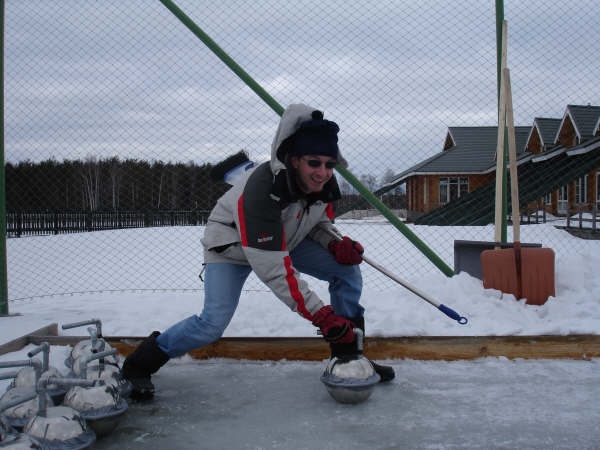
"Hi Guys, I am a Canadian who has been living in Russia
for the last 5 years. We are in a small expat community with folks from
around the world. The group was bored with the long winter nites so
aske me what we do to pass the time. Curling was an activity that came
to mind. Like yourselves we started with the idea of plastic bottles,
not great. I found your page when looking for specs on size shape and
weight etc for curling stones. Making them was half the fun with 8-12
people pitching in. The only problem is lack of cold weather. Normally
-20C this time of year but has been +5C in the day time. The 10 cm ice
surface on our skating rink has virtually gone except the edges.
Have enclosed 3 photos of the folks working and the final test.
Thanks for sharing your super ideas. Th slald bowl was super. (You
neded to change the specs. Each bowl is 2.5 l for a total of 5 l, this
gives the right weight and diameter)"
Bob from Russia

|
|
Click image to see large version |
If you have comments or suggestions: Youtube video | mindenoutersclub@gmail.com
| Make
Your Own Curling Stone Forum NEW
COPYRIGHT: This information belongs to the Minden Outers Club
any proceeds should be directed to the MOC tontine.
*Canadian dollars